Viral Smoothie Bowl Toppings That Make It Look Expensive (Crunch + Swirl + Color)
You don’t need a marble countertop or a $15 café tab to make your smoothie bowl look luxe. You just need the right toppings: a little crunch, a dramatic swirl, and pops of color. That “wait, did you hire a food stylist?” vibe? Totally doable with your grocery store haul and five extra minutes.
Start with a Smooth Base (Your Canvas Matters)
A silky, thick base makes every topping pop. Blend frozen fruit (banana, mango, berries), a splash of milk, and a spoon of yogurt or avocado until it stands up to a spoon. If your base runs like soup, your chia seeds will sink and your swirls will vanish.
Pro tip: Aim for soft-serve texture. Add liquid 1 tablespoon at a time and pause to scrape down the sides. If you hear your blender cry, add a splash more.
Crunch That Sounds Expensive
Your toppings should crunch like tiny applause. Layer textures so every bite hits differently. Start with something sturdy, then sprinkle something delicate on top.
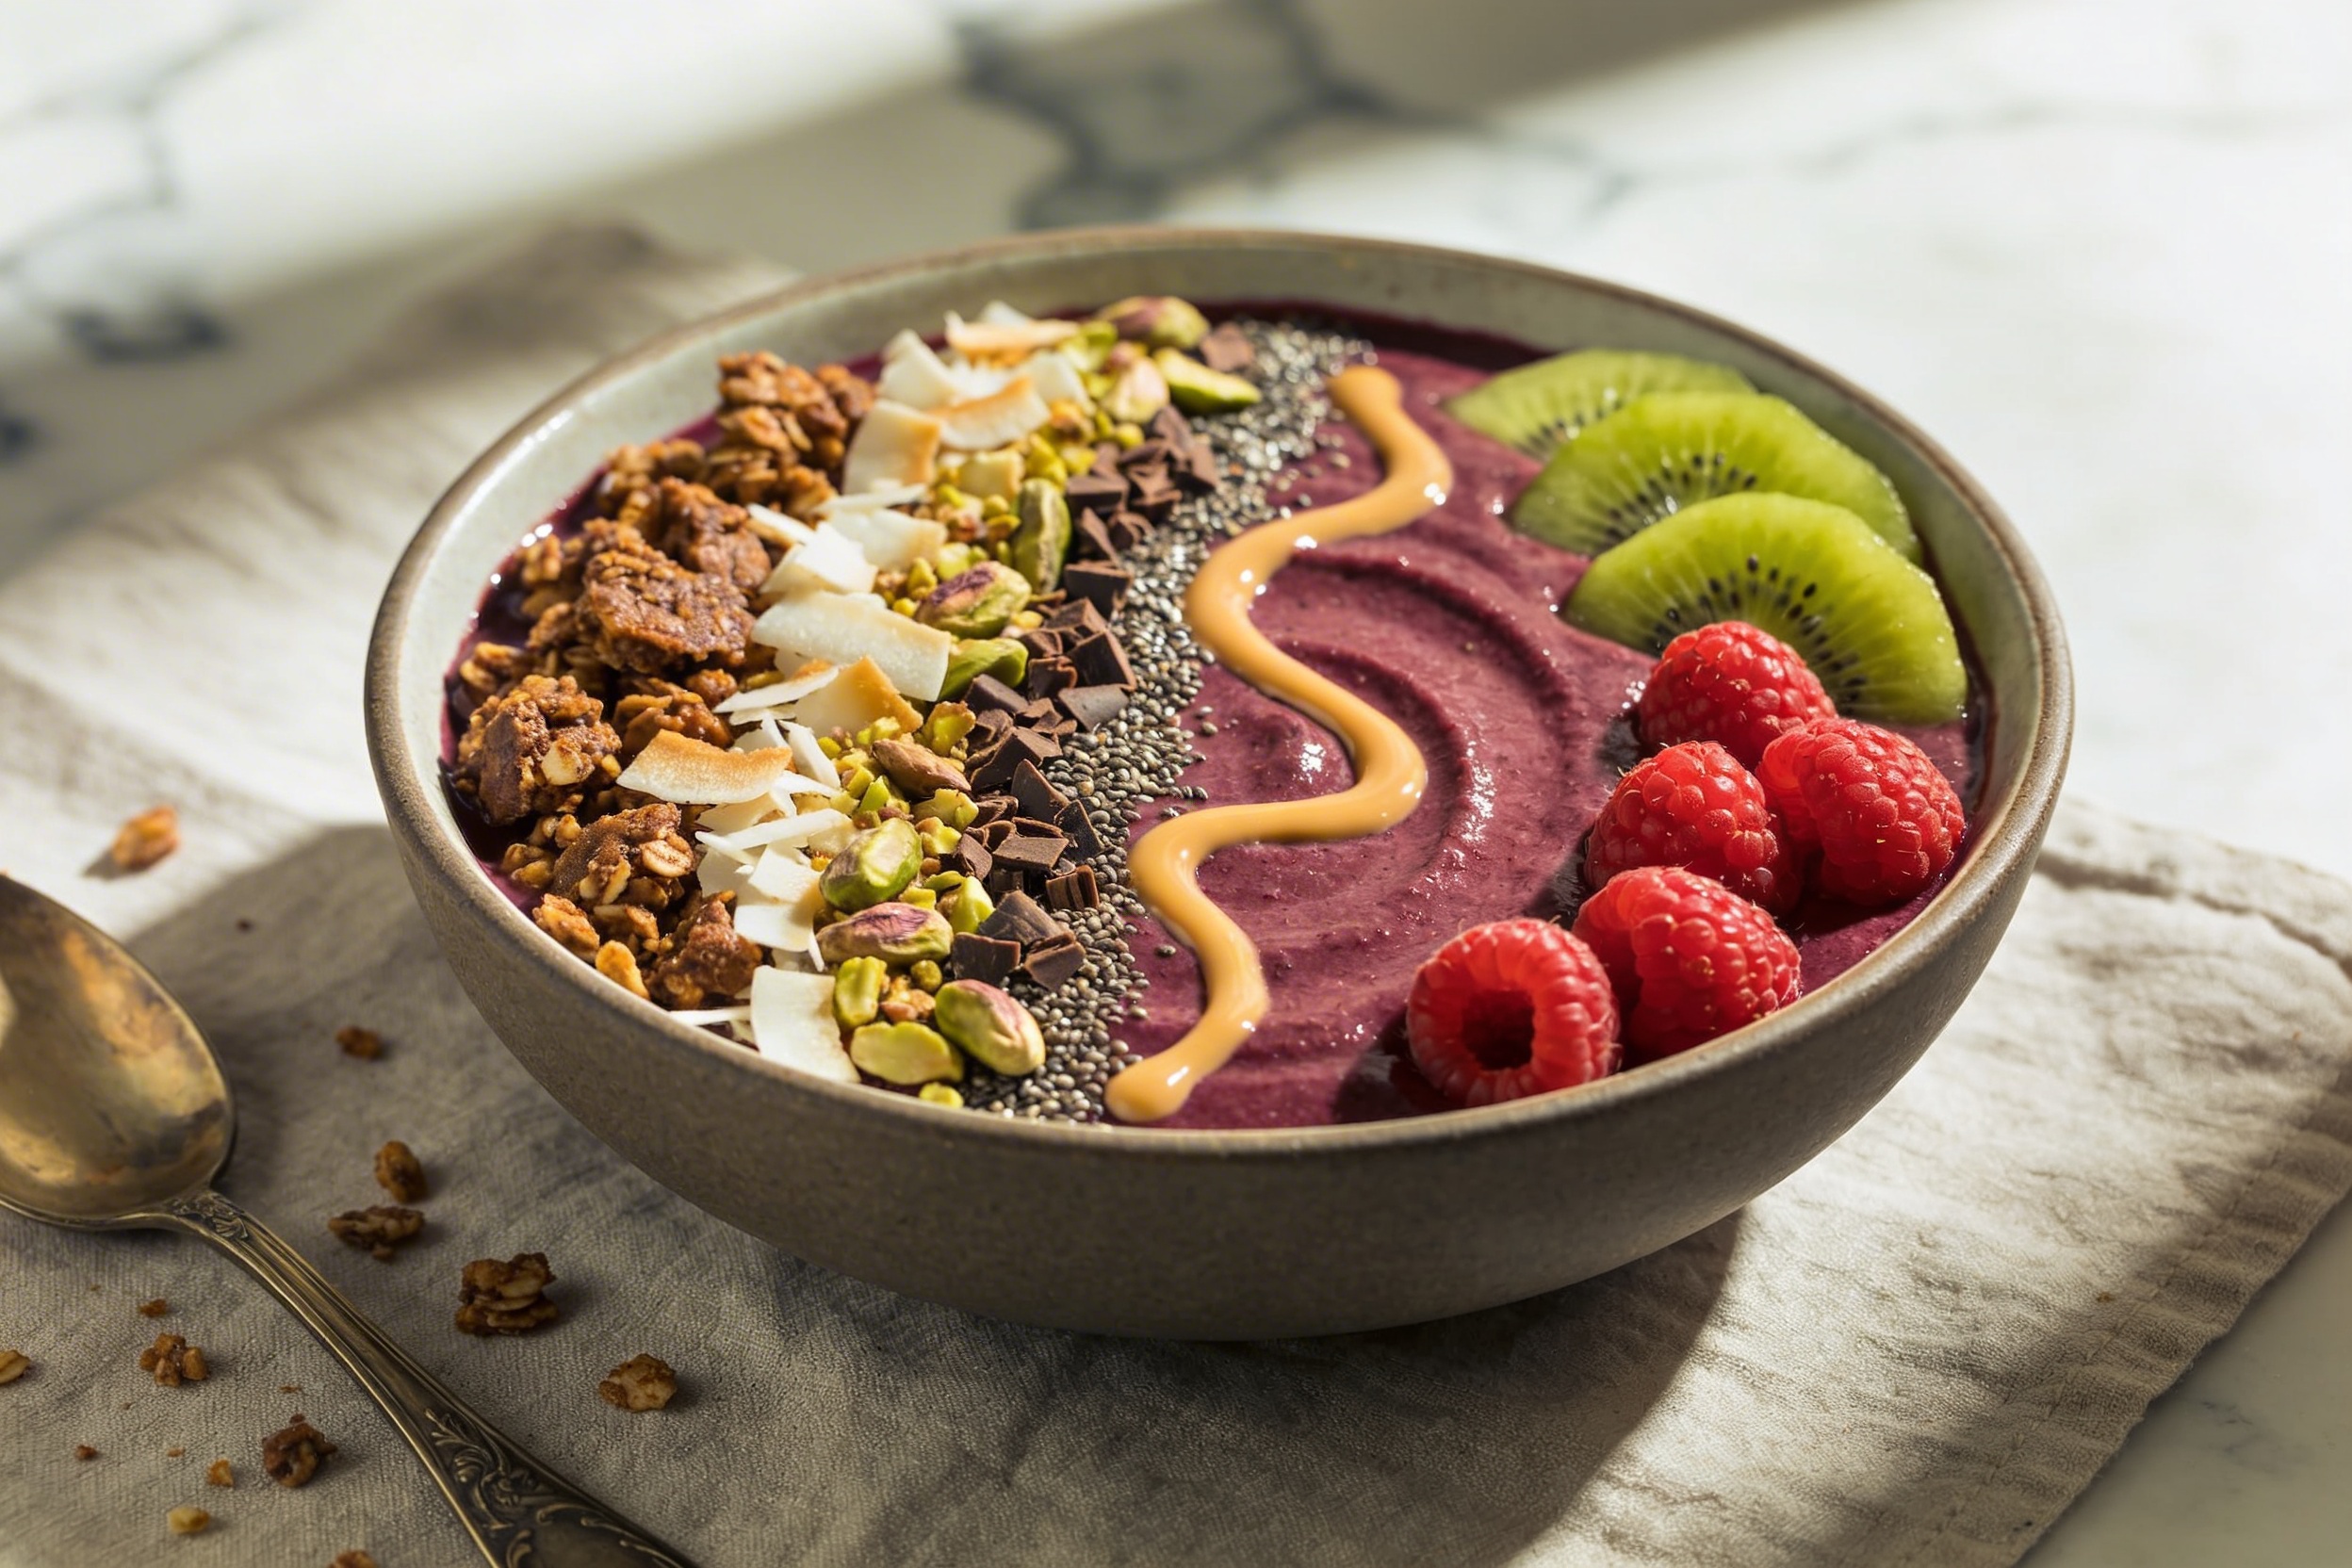
- Granola clusters: Big, boulder-y bits read “artisanal.” Mix store-bought with a handful of toasted nuts to fake a fancy blend.
- Toasted coconut flakes: The big unsweetened kind. Toast in a dry pan for 2–3 minutes until golden. Instant vacation energy.
- Cacao nibs: Bitter, crunchy, chocolate-adjacent. They add depth and make people ask, “What is that?”
- Nut and seed medley: Pistachios (green!), almonds (crunch!), hemp hearts (buttery!). Combine for flavor and contrast.
- Buckwheat groats: The unsung hero. Toast them lightly; they bring a crisp snap and look chic.
How to Layer Crunch Like a Pro
- Base layer: A stripe of granola or groats anchors delicate toppings.
- Spot accents: Sprinkle nibs or chopped pistachios over fruit slices, not the whole bowl. It looks curated, not chaotic.
- Finish with a light dusting: Hemp hearts or bee pollen at the end = “I thought about this.”
Swirls That Scream “Photo-Ready”
Swirls add motion and shine. They turn a purple puddle into a “wow.” You don’t need fancy tools—just a teaspoon and confidence.
- Nut butter ribbons: Warm a spoon of almond, peanut, or tahini. Drizzle thinly, then drag a toothpick through to create hearts or marbling.
- Yogurt swoops: Dot dollops of thick yogurt and swirl gently. Greek yogurt = crisp lines. Coconut yogurt = glossy sheen.
- Fruit compote streaks: Microwave frozen berries with a squeeze of lemon for 30–60 seconds. Spoon and swirl for dramatic contrast.
- Honey or date syrup glisten: A micro-drizzle catches the light. Go easy—sweetness should accent, not take over.
Swirl Placement 101
- Keep swirls off the edges so they don’t smear on the bowl rim.
- Place them opposite your crunch so each bite feels balanced.
- Leave negative space. White (or purple) space makes it look intentional, IMO.
Color Theory for the Breakfast-Obsessed
Vibrant, contrasting colors make your bowl pop. Pair opposites and let one color lead.
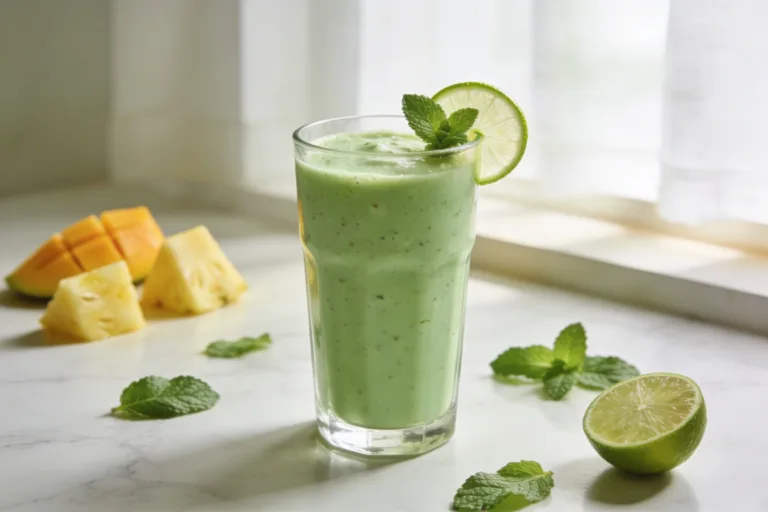
- Contrast pairs: Deep purple açaí + bright green kiwi; pink strawberry base + blue blueberries; golden mango + ruby pomegranate.
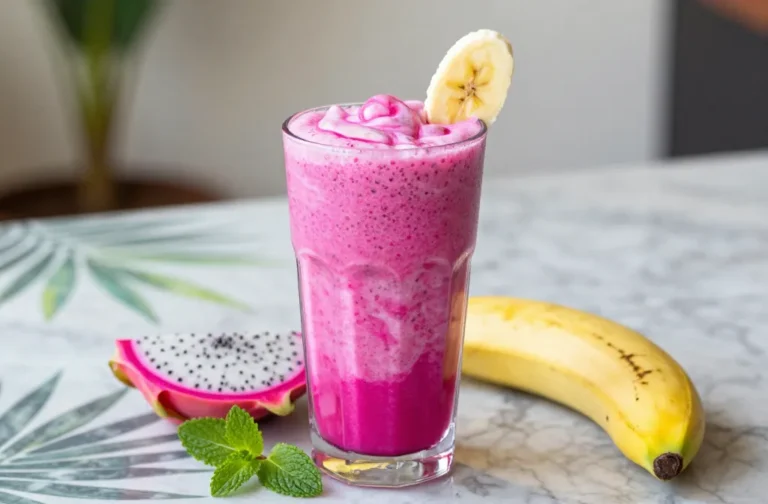
- Monochrome drama: Go all-blue (blueberries, blue spirulina, blackberries) or all-pink (dragon fruit, strawberries, rose petals). Monochrome = minimalist luxury.
- Metallic moments: Edible gold leaf or gold-dusted cacao nibs for special occasions. FYI, a tiny bit goes a long way.
Prettiest Fruit Cuts (That Don’t Take Forever)
- Fan-sliced strawberries: Slice almost through the base and fan open.
- Kiwi coins or half-moons: Peel with a spoon, slice cleanly, and layer slightly overlapping.
- Mango cubes: Score in a grid, invert, and trim cubes off for geometric flair.
- Orange supremes: Cut away membranes for jewel-like segments. Fancy, but worth it.
Patterns That Look Designer, Not DIY
You don’t need a ruler, but a plan helps. Think in lines, clusters, and arcs.
- The diagonal stripe: Run a wide stripe of granola corner-to-corner. Tuck fruit on one side, swirl on the other.
- The crescent: Curve toppings along one edge of the bowl, leaving the center clean. Elegant and easy.
- The three-cluster rule: Make three small clusters (fruit, crunch, seeds) spaced evenly. Triangles are pleasing to the eye—science and vibes agree.
- The ombré line: Arrange fruit from light to dark for a gradient. Think banana → mango → strawberry → blueberry.
Quantity Control (So It Doesn’t Sink)
- Use 1–2 tablespoons per topping. More than that and your bowl looks crowded and eats heavy.
- Place heavier items first so they nestle, then float the delicate stuff on top.
- Stop before “just one more thing.” Negative space = luxury, IMO.
Flavor Pairings That Taste as Good as They Look
A gorgeous bowl that tastes meh? Hard pass. Match toppings to your base so it all sings.
- Açaí or berry base: Almond butter swirl, cacao nibs, blueberries, coconut flakes.
- Mango or peach base: Toasted coconut, lime zest, pistachios, honey drizzle.
- Banana-peanut base: Peanut butter ribbon, chopped dark chocolate, banana coins, hemp hearts.
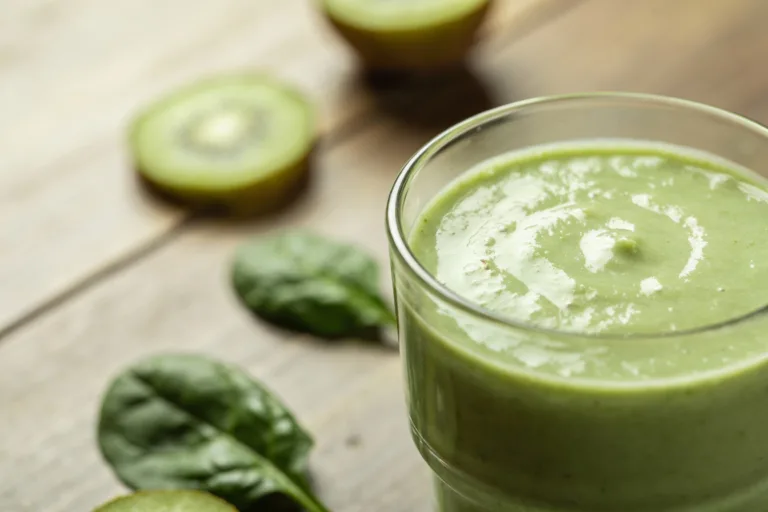
- Green base (spinach/kiwi): Kiwi, pineapple, chia, pumpkin seeds, a squeeze of lime.
Little Extras That Change Everything
- Zest: Lemon or lime zest wakes up sweetness and adds color flecks.
- Salt: A pinch of flaky salt on nut butter? Mind-blowing balance.
- Herbs: Tiny mint leaves or basil ribbons for fragrance and color.
Budget-Friendly “Looks Pricey” Toppings
Want champagne style on seltzer money? Same. These give luxe energy without the markup.
- DIY granola clusters: Mix oats, chopped nuts, maple, and a beaten egg white. Bake in sheets; break into big chunks.
- Homemade chia jam: Mash thawed berries with chia and lemon. Five minutes, café-level results.
- Toasted seeds: Sunflower and pumpkin seeds taste gourmet after 3 minutes in a pan.
- Seasonal fruit: Buy what’s peak (and cheap), then slice with intention. Fresh always reads fancy.
FAQ
How do I keep toppings from sinking?
Make your base thicker by using frozen fruit and minimal liquid. Add heavy toppings first (granola, nuts), then place lighter items (seeds, zest) on top. If it still sinks, chill the bowl for 5 minutes to firm the surface.
What’s the easiest swirl for beginners?
Warm a teaspoon of nut butter until pourable, drizzle in thin lines, then drag a toothpick through once in alternating directions. You get a clean marbled look with zero stress. Yogurt dots + one gentle swirl also never fails.
Can I make it dairy-free without losing the creamy look?
Yes—use frozen banana, mango, or cauliflower rice for body, and blend with coconut milk or oat milk. Coconut yogurt works great for swirls. It still spoons thick and looks glossy.
Which toppings add protein without ruining the vibe?
Hemp hearts, chopped nuts, Greek or coconut yogurt dollops, and a spoon of peanut or almond butter. You can also blend silken tofu or protein powder into the base and keep the surface pretty. Function and fashion—both.
How do I stop the bowl from melting while I decorate?
Chill your bowl in the freezer for 10 minutes before you blend. Keep toppings prepped and ready. Work fast, start with the big elements, and finish with sprinkles and swirls last.
Is edible glitter okay on smoothie bowls?
If it’s FDA-approved edible glitter, sure. But for a more natural shimmer, use honey or date syrup and a scatter of bee pollen. It glows without feeling costume-y, FYI.
Conclusion
You don’t need a culinary degree to make a smoothie bowl look expensive—you just need contrast: crunch + swirl + color. Build a thick base, layer textures thoughtfully, and let a few bold elements shine. Keep some negative space, throw in a drizzle, and boom—your weekday breakfast suddenly looks like it has a publicist. Now grab a spoon and humblebrag accordingly.